There is always something so exciting and pleasing about planting your own vegetables. Especially when they are ones which you love to include in your cooking often! Honeynut squash is a great vegetable to plant. Even if you’re a beginner, you can learn how to grow honeynut squash successfully.
If you are following a healthy diet or you want to start a healthy diet, start including honeynut squash asap. It is extremely healthy and rich in nutrients. You will have no regrets about growing this incredible winter fruit. It is super delicious and can be used in so many things.
What is Honeynut squash
Honeynut squash is a winter vegetable. It is a mixed breed of buttercup squash and butternut squash. Its flavor is sweeter than any other squash with a hint of a nutty taste. It is very small in size compared to butternut squash.
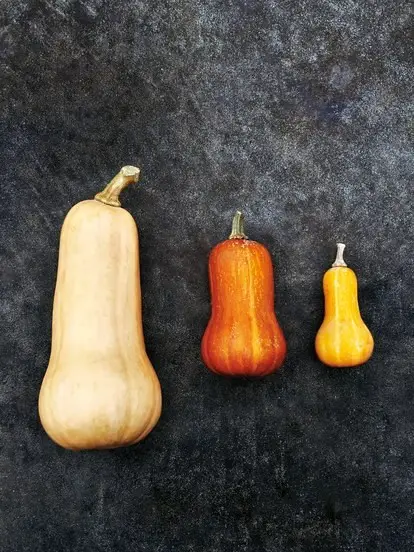
Left to right: butternut squash, Honeynut squash, and “898” squash currently in development.
The result of growing honeynut squash was because of a collaboration between Michael Mazourek, an associate professor in Plant Breeding and Genetics at Cornell University, and Dan Barber, chef and co-owner of the iconic Blue Hill at Stone Barns in Pocantico Hills, New York. The story behind growing this new incredible and delicious squash was indeed very interesting.
This fruit can be used in cooking in various ways. It can be roasted, grilled, fried, baked, sauteed, or pureed. Additionally, it can be stored for 4 months after its harvest.
How to Grow Honeynut Squash
Honeynut squash is a very low maintenance plant, anyone can go through the whole process from the seeds to a yummy dish on the dinner table easily.

Note
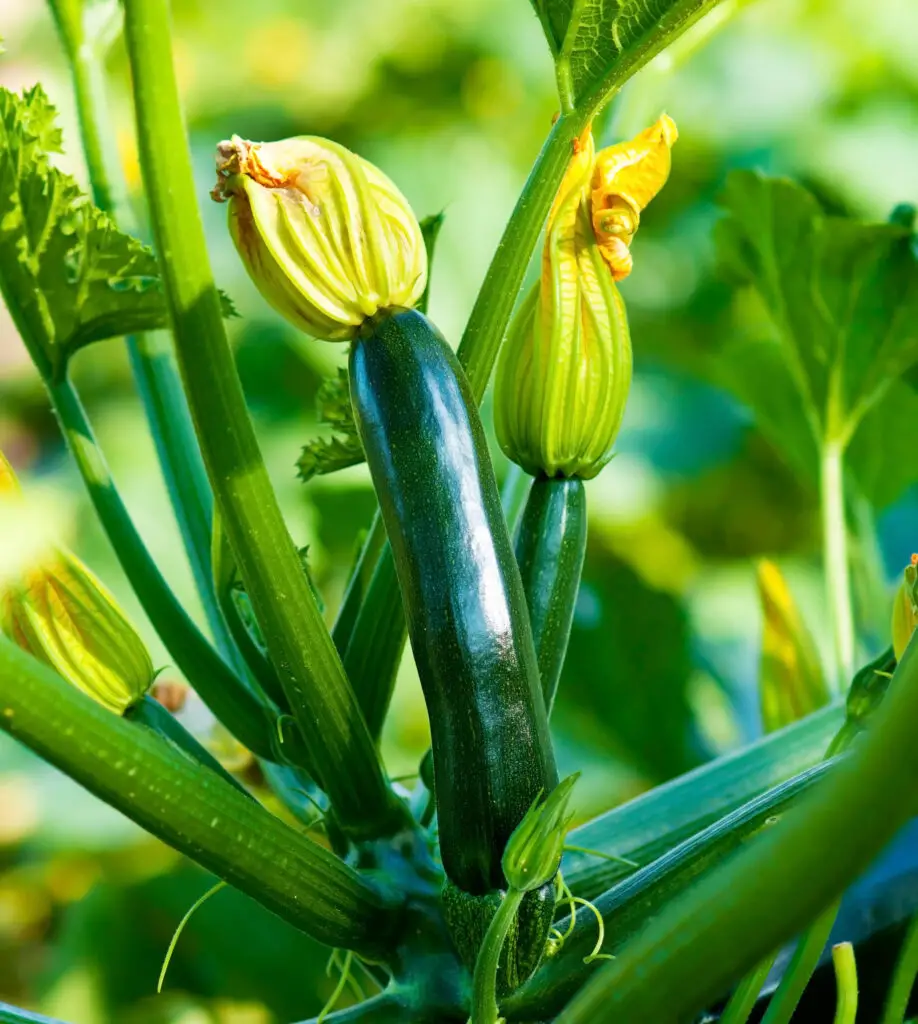
The steps of growing honeynut squash are different from the ones of other squashes such as zucchini.
The Steps of Planting Honeynut Squash
1. When to Start Your Seeds
Honeynut squash is a winter fruit. You can either choose to start seedlings indoors or outdoors. Start indoors in early April by sowing two seeds per pot. Then, later on, transfer to outdoors once the frost season is over in late May.
You can sow the seeds directly outdoors in late May or the beginning of June when there is no frost to endanger the germination process.
2. Use Fresh Seeds
The quality of the seeds affects the quality of growth for all kinds of plants. Old seeds tend to not give the same results as fresh ones. Even if you use the same brand of seeds, old ones will not germinate as well and the majority of them will fail during the long process. The older the seeds get, the less likely they will sprout.
There is always the choice of extracting the seeds by yourself from the squash itself. The process will take a long time compared to other seeds. Honeynut squash seeds need to be used dried and viable.
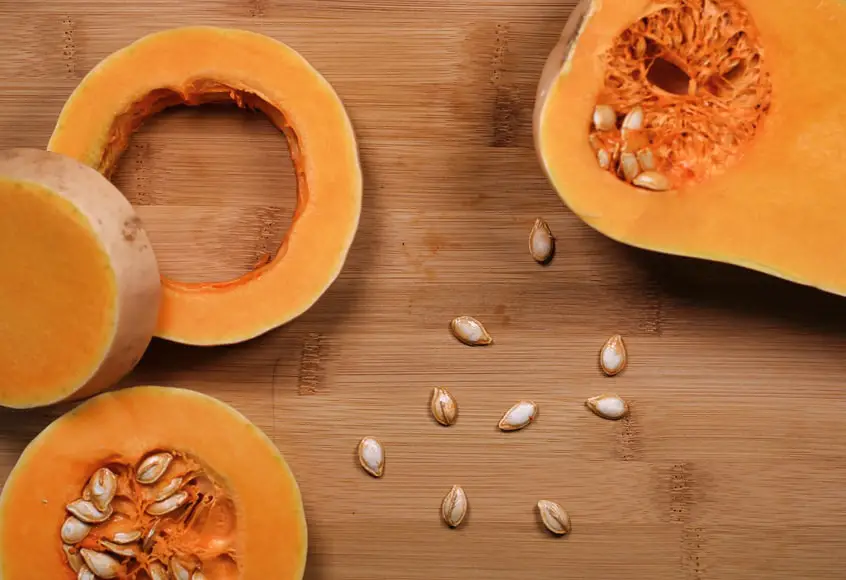
In some cases, for seeds to be viable, it would need around 2 to 3 years to be fully ready for germination.
The seeds need to be stored in a dark, dry, and cool environment. They can be stored for around 10 years and still be fertile. However, seeds are meant to be planted, why store them?
3. Germination
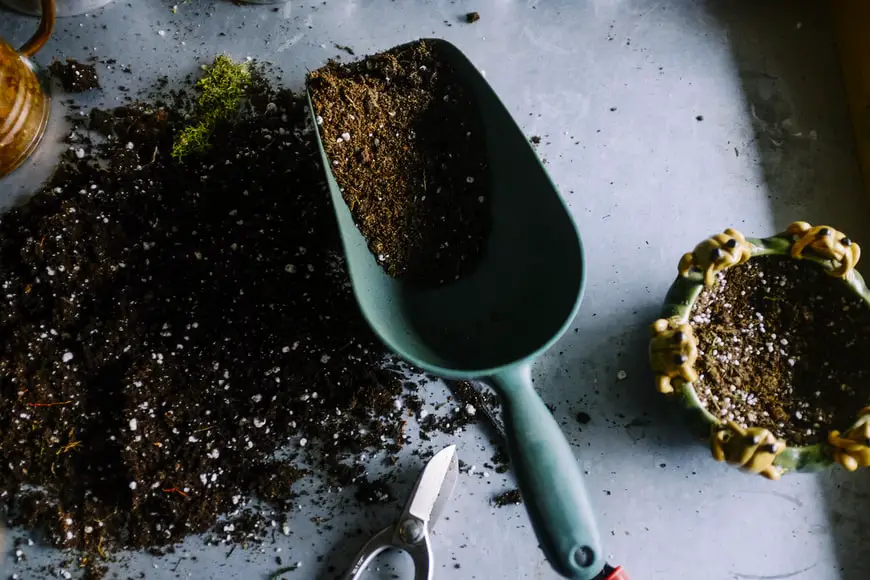
Like any other plant, honeynut squash seeds need to be germinated first. For that, you would need a fresh new compost (Preferably a seed compost.) Place the compost in small containers or seedling boxes, do not press the soil too much, press it gently.
Poke small holes into the soil, not too deep. Place the seeds and cover them lightly with soil and water them. At this stage, the seeds need to be moist and warm all the time, 80-90˚ F is ideal (26-32˚C.)
Cold weather or cool greenhouses will not allow germination to occur successfully. I would highly recommend you to use a seedling heat mat if you live in a cold environment.

4. Thin the Seedlings
The seedlings should sprout within 7-10 days if done correctly. In some other cases, depending on the seeds’ quality and the temperature, it might take even longer (3 to 4 weeks.)
Once the seedlings sprout, thin them to avoid crowding. Unlike some other plants and herbs, honeynut squash needs to be potted alone in large containers or pots before transferring them to the ground.
5. Transfering the Seeds Outdoors
Honeynut squash needs full sunlight and a lot of water. Not too much water though, we don’t want it to drown. Wait until warm climate to take your seedlings outside. The temperature needs to be at least 64˚F (18˚C)
Prepare the beddings for your tiny cute honeynut squash plants. You need to choose a suitable large planting site. The soil also needs to be filled with the necessary nutrients, preferably mixed with organic compost for the plant to grow.
Since honeynut squash is a small fruit unlike butternut squash, leave at least 35 inches (90cm) of space between each plant. Here, it depends on the shape of your site if you want to plant them in a straight line, in a circle, or even randomly.
If you decide to plant them in a row, the space between each row should be 72-120 inches (180-300cm)
Dig a suitable hole and transfer the plants very lightly. Do not forget to water them immediately as honeynut squash are very hungry plants.
Note
- The dug hole should be one inch deep (2cm) so the plant can get enough sun rays and the water would drain easily and fast.
- Make sure your prepared area is not exposed to strong wind.
6. The Growing Process
At this stage, you will need to be patient. These plants are not slow, but also not fast growers. They depend on the effort and time you put into them.
As the plant grows more leaves, cut off the old leaves to allow the plant to grow even stronger.
Note
When the fruit starts to grow and touches the ground, flip it once in a while, otherwise, it would grow with a flat side.
7. Watering and Feeding
As I mentioned before, honeynut squash is a hungry and thirsty plant. They need to be watered and fed regularly. Once the growth of the plants reached 12 inches long (30cm), start feeding it with fertilizers that are rich in nitrogen to support the foliage to grow fast and healthy.
Before the plant starts blooming, switch your fertilizer with another one that is rich in phosphorous. That is because phosphorous is what helps the plant to grow its fruits healthier.
8. Watch for Pests and Weeds
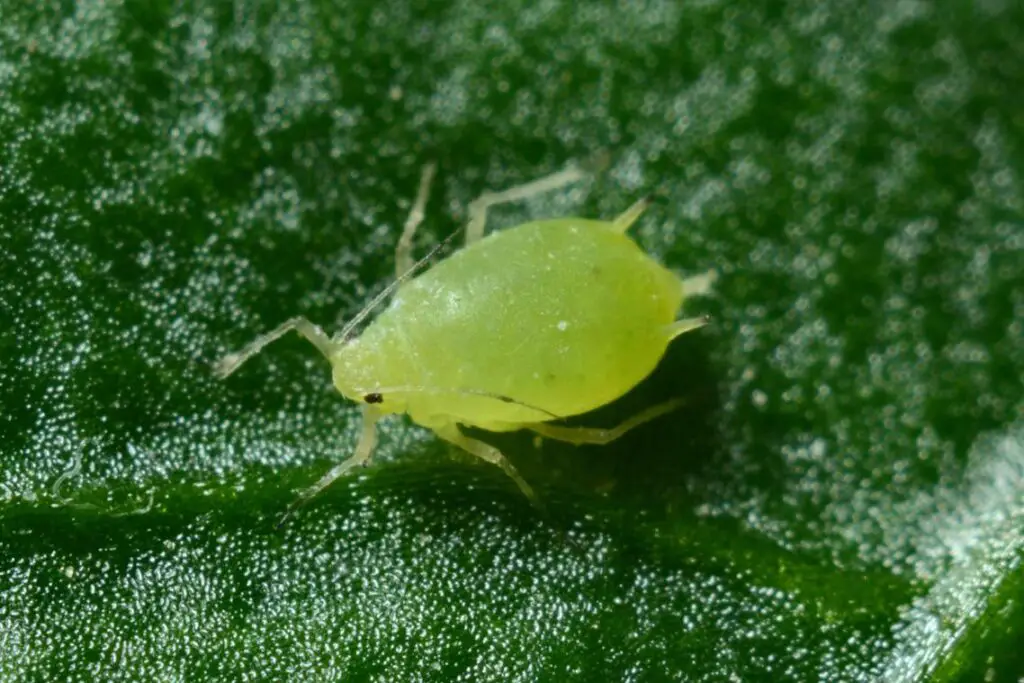
PESTS are any fruitful plant’s biggest enemy! Honeynut squash is susceptible to some types of pests such as aphids, spider mites, squash borers, worms, rodents, and other harmful pests.
And especially cucumber pests who like to feed on the leaves.
If you started your growth process directly into ground soil outdoors, oh boy you’re at high risk! Seedlings are very sensitive and fragile, they will not survive around pests and insects. To protect them from pests, they need constant care.
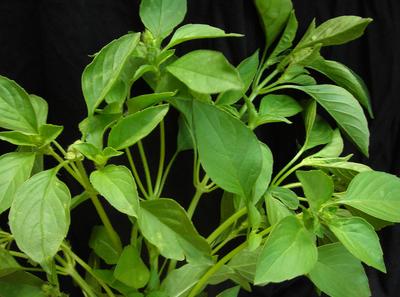
You can cover your plants with garden fabric until they begin to bloom. Another solution to keep pests away is to plant onions, leeks, dill, and African basil around your honeynut squash plants.
Another thing you should pay close attention to is weeds. All weeds should be fully eliminated. Weed can be an attractive point to pests as well. The main reason why weed is harmful around the plant is that it absorbs all the nutrients and moisture in the soil leaving your precious plant hungry.
Note
Honeynut squash is a tiny fruit. If you decide to grow it vertically, the actual growing fruits would not require support as the plant is strong enough to handle them.
9. Protect From Diseases
Honeynut Squash can succumb to powdery mildew and cucumber mosaic virus. Keep plants well-watered and look for varieties that have good disease resistance.
10. Harvesting Honeynut Squash
Autumn is the season to harvest honeynut squash. Bear in mind that the growing process for the fruits might take at least 75 days to 100 days to be ready for harvest.
In order to harvest the honeynut squash, you would need to take the following steps into consideration:
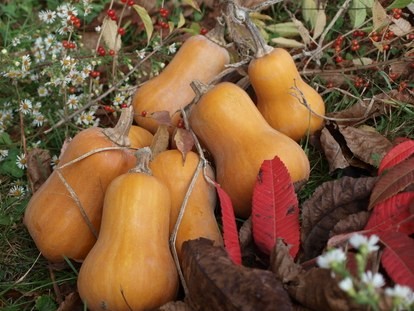
- Before harvesting your honeynut squash, make sure that it is fully ripe and ready to be picked. It should be fully orange in color and not green.
- You should be able to spot vertical green lines in the honeynut squash before it is fully ripe, which means it is still not ready. Once those green lines turn orange in color, then, you can harvest it.
- Its skin should be very hard to penetrate with fingernails.
- Cut the honeynut squash stems using scissors leaving a few centimeters of the stem at the top of the squash to prevent it from rotting.

- Keep the squash in a cool, dry place.
- Before storing the honeynuts, it is preferable to treat them by placing them in the sun for 10 to 14 days, so that their peel becomes more solid and more flavorful.
- While treating them, you need to protect them from the night cold by covering them with a blanket or transferring it to the garage.
- Store the processed honeynuts in a cool place, where the appropriate storage temperature is 50˚ F (10 ˚ C) with a humidity of 60%.
- You would also need to make sure there are no insects in the storage area.
- The ideal conditions for storing your honeynuts can preserve them for 3 months.
Things To Avoid while Growing Honeynut Squash
- When the fruit starts to grow, do not let it sit directly on the ground as that can damage it and cause rot. Place wooden or plastic boards or place tiles.
- When harvesting the honeynuts, do not pick them from the stems. If the stem breaks, it would lead the basis of the squash to rot.
- Avoid planting any other fruit near the honeynuts such as potatoes or other types of squashes.
- While watering the plant, or any other plant, do not wet the leaves because it causes fungal diseases.
Conclusion
What a joy to grow your own vegetables. Every time I successfully grow a kind of vegetable, I feel like I just accomplished a great achievement. Especially when I harvest my favorite vegetables such as honeynut squash.
I love having a healthy lifestyle, so including it in my diet is a wonderful choice I made. Honeynut squash is so rich in nutrients, it is extremely healthy. If you’re looking for something to grow, please choose honeynut squash! You will not regret it, I promise.